 |
| This fantastic board was available only for painted armies. |
 |
| Yes, that is a Warhound titan and nine(!) Contemptor Dreadnoughts. |
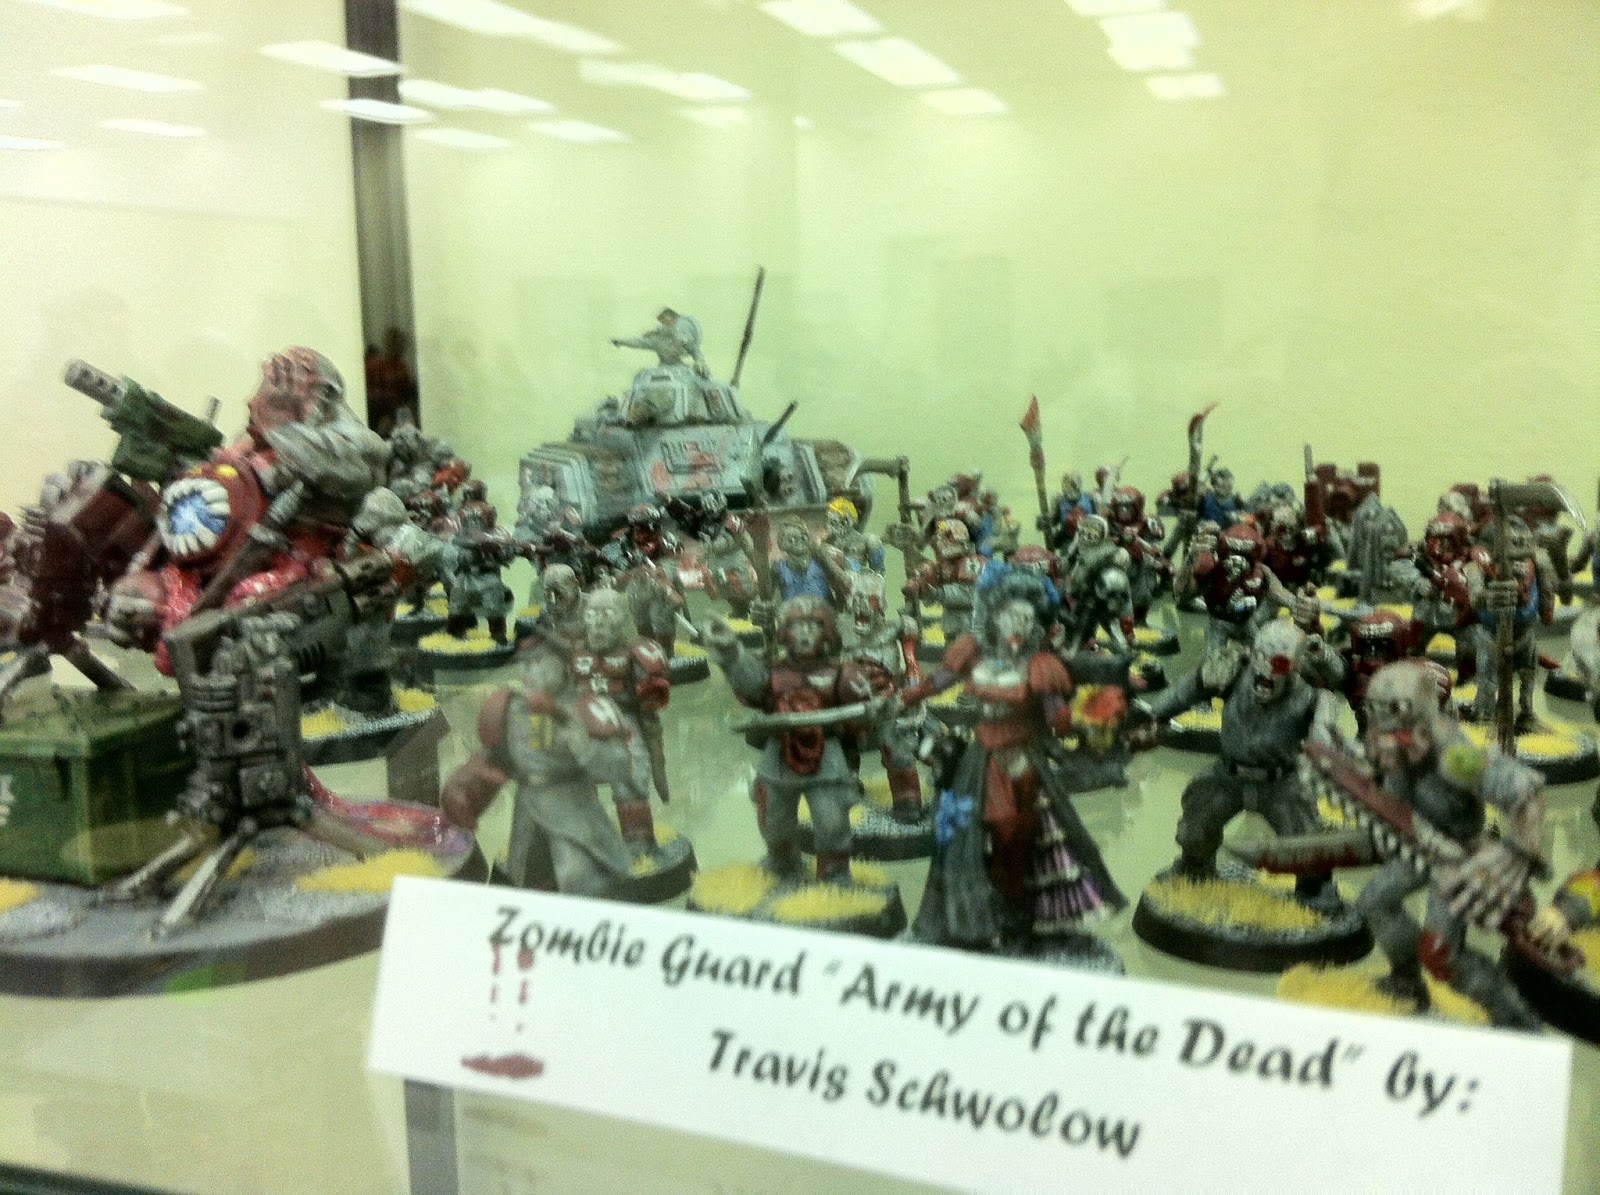 |
| This highly converted zombie Imperial Guard army was very impressive. |
 |
| Henry's army was beautifully painted, and his custom Aegis Defense Line got a lot of attention. |
My opponent was Henry, and he was super cool to play against. I'd bounced across the country with my army and had somehow managed to forget two of my Voidraven flight stands, my scatter dice, templates, and even my tape measure, and Henry was nice enough to let me borrow some of his extra gear through the length of the tournament.
I won the roll-off and deployed a couple of troops on objectives I'd placed at the 24" mark, forcing Henry's deployment into a six-inch window at his board edge (since the scenario required that you deploy 18" from enemy models). You can see his deployment in the photo above; he put his Tervigon inside the Aegis Defense Line, the Hive Tyrant sort of behind the Aegis and in area terrain, and a squad of Termagants beside the Tyrant in area terrain and largely blocked from my line of sight.
 |
| My poor army needs some TLC. I'm missing half my flight stands and most of my weapons have snapped off. |
Henry retaliated by bringing on his whole army - two more squads of Termagants, three Hive Guard, another Tervigon, a big squad of Gargoyles and a second flying Hive Tyrant - except for his two deep striking units. He explained to me that, according to the rules as written (RAW), Tyranids can operate freestanding guns but not the ones that are built into fortifications (like the heavy bolters on a bastion). I'm not sure if that's correct, but I was fine with it for this tournament. Henry's Gargoyles snap fired the quad gun at me (since it's a heavy weapon and they moved onto the board that turn) and managed to wreck a Venom. He advanced his two Flyrants, cast a couple of Psychic powers and that was about it.
 |
| This is going to hurt. |
Henry conceded and I took full points before turn five.
 |
| Defense lines make it easy to anticipate where your opponent will deploy. |
My opponent's name escapes me at the moment (sorry!) but he was another nice guy I was happy to play. He was fielding squishy Imperial Guard with lots of heavy weapons teams, a couple of Leman Russ tanks and a single Vendetta Gunship. I set up as close to him as I could get, with my Archon's Raider in the lead in case I could get an early charge off.
 |
| So many bodies! |
 |
| I tried to scatter to mitigate damage from the Leman Russ Battle Tank. |
On my first turn I moved up and put enough fire into each of my targets to force morale checks, since he'd deployed them in separate small units close to his board edge. He lost two squads over the edge of the world and four more were falling back at the end of the turn. Most importantly to me I managed to kill off two bases each from a missile launcher heavy weapon team and a lascannon heavy weapon team, and force both to fall back. My paper airplanes don't like being shot by either of those.
His first turn was rough, although he was able to rally both heavy weapons teams. His shooting was largely ineffective, and all he managed was to Stun my Archon Raider.
 |
| The Voidravens look much better when I don't forget the flight stands. |
On his turn two my opponent's Vendetta came on from reserve and tried to take down a Voidraven. The reason the Voidraven is such a great dogfighter was evident here, as I shook off a penetrating hit with my Flickerfield and didn't have to sacrifice shooting to evade. He did manage to take out my Archon's squad with the Demolisher and the Raider and Haemonculus with the Battle Tank as well, which meant that I'd have to board him to win full points.
On my third turn I shot down the Vendetta with a Voidraven and cleaned up nearly everything left on the board. My opponent told me that he didn't see Dark Eldar often at the bunker, and he was shell-shocked when I picked off seven Kill Points in that turn. He was left with nothing but a three-man squad of special weapons who ended their fall back move an inch from his board edge.
He rallied his last unit on his turn, so I walked some Wracks up to his quad gun and shot them down. I won with full points by boarding him.
 |
| This was one of four Chaos-ed statues on the learn-to-play board. |
His list included two squads of Daemonettes, two squads of Plaguebearers, a squad of Pink Horrors, a unit of 19 Flesh Hounds of Khorne, the Keeper of Secrets, the Lord of Change, and a Tzeentch Daemon Prince. In addition to Psychic powers, the new codex apparently forces you to spend a half hour rolling to generate different attributes and abilities specific to Daemons.
This game wasn't a lot of fun, mostly because the codex seems to be pretty complex and I hadn't read it yet. For example, my opponent rolled a power that he explained allowed him to reduce the invulnerable save of all of my vehicles to a 6+ for the duration of one phase. Turns out that it doesn't work like that at all; the ability can only target units which contain a Daemon and is used primarily to boost a friendly unit's invulnerable save by two points, and it lasts for one turn. I found that out the first turn when my opponent seized the initiative, and the Lord of Change cast Forewarning on the big unit of Flesh Hounds (who were suddenly an inch away with a 2++ save).
I spent my first couple of turns baiting his army into splitting -- big squads to my left where the objectives were, big models to the right and into the open -- so that I could mitigate the 38-wound 2++ unit of Flesh Hounds. I didn't take much damage, since my opponent gave up Furious Charge in favor of charging multiple Venoms and whiffing, but the sheer number of models he had on the board ate up our time in just three turns. By the time my reserves hit the board the game had swung into my favor, but with just three turns I wasn't able to pull out a victory. I wiped the Flesh Hounds with Voidravens, reduced the Marked for Death unit to a single model and killed the Daemon Prince, but I'd lost more units than that when time was called.
Overall I had a great time and was happy that I'd had the chance to play. I usually try to learn the broad strokes of every codex before playing in tournaments, and the last round against Chaos Daemons really reminded me of why I do that: I don't mind taking the loss, but it would've been much more fun to finish the game -- even if the outcome had been the same.
No comments:
Post a Comment